Friday, June 22, 2012

Mounting the Extractor

When we extracted, we learned that balancing the frames inside the extractor makes the process smoother.  We learned that by not having it balanced and watching the extractor trying to jump around.  Luckily, we only did that at low speeds, so that we could slow it down.

One thing I noticed is that the tops of the sides of plastic frames is just a tad wider than wooden frames.  This requires wiggling, pushing, and muttering under my breath to get them in the bottom frame holders.  I have ordered a few medium wooden frames to see if they fit any better.  I may end up grinding/sanding the sides of the plastic frames a little to make them fit better in the extractor.

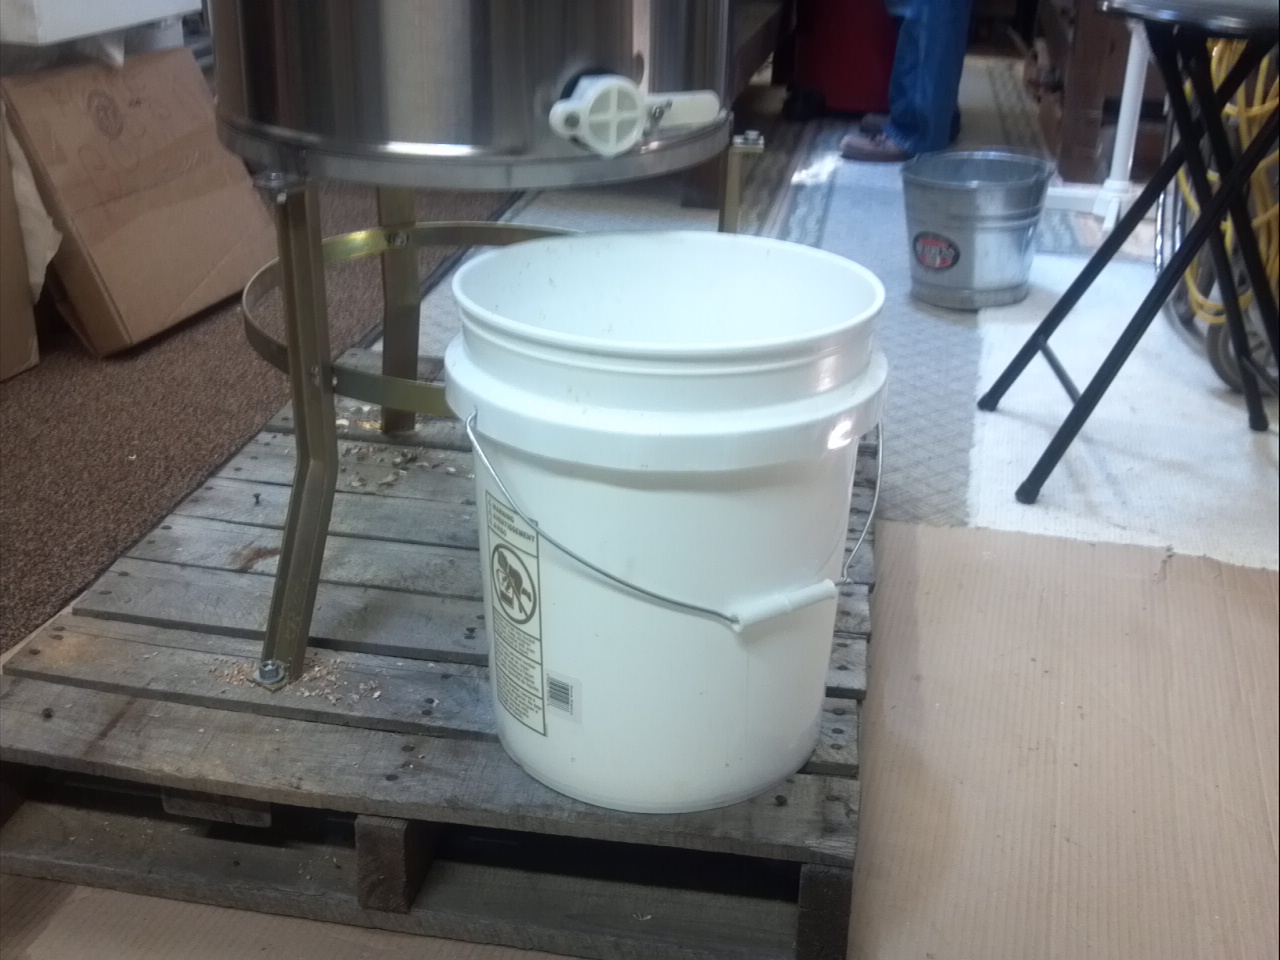
Anyways, I had an old pallet laying around in the yard and we mounted the extractor to that to give it a more stable base (plus now I could move it on a forklift if I had one!).  We put 2X4s underneath the top pallet wood to strengthen the setup.  Here's what it looks like:


 This shows the 2x4 underneath for strengthening and support:


 Room for a bucket on the pallet under the outlet valve:


Tuesday, June 19, 2012

Building a Solar Wax Melter


The crockpot thing kind of worked, but left something to be desired.  So I got on the web and looked for how to deal with the wax.  I found some plans and videos for building solar wax melters (it's cheap, but it takes a while).  I bought a styrofoam cooler at the dollar store and a piece of plexiglass at Lowe's and that's the major parts to it.  I painted it black to absorb more heat.

First I got black thumbs painting the cooler:

Click image for larger version. 

Name: 2012-06-19_08-41-10_376.jpg 
Views: 0 
Size: 153.2 KB 
ID: 4507

Here's the finished product:

Click image for larger version. 

Name: 2012-06-19_08-54-45_663.jpg 
Views: 0 
Size: 222.5 KB 
ID: 4508

Here's the "bucket" that has a little water in the bottom with a paper towel and rubber band:

Click image for larger version. 

Name: 2012-06-19_09-28-52_279.jpg 
Views: 0 
Size: 123.5 KB 
ID: 4509

Here's the wax (that's been melted several times in my trials and many errors):

Click image for larger version. 

Name: 2012-06-19_09-29-27_539.jpg 
Views: 0 
Size: 173.3 KB 
ID: 4510

Here it is all loaded in the melter with a piece of foil in the bottom:

Click image for larger version. 

Name: 2012-06-19_09-29-34_504.jpg 
Views: 0 
Size: 80.7 KB 
ID: 4511

and here it is in action:

Click image for larger version. 

Name: 2012-06-19_09-29-42_774.jpg 
Views: 0 
Size: 148.4 KB 
ID: 4506

And here's the picture I used for a guide:


Here's some more pictures:

This is the top of the filter after the wax went through.  The video I saw on this said to save this paper towel, that it's good for getting the smoker going.  (sounds good to me!)


This is just a picture of the melter out in the yard. 


This is the wax out of the tub in the kitchen:


It finally came out right.  Now, when I harvest the next honey, I know what to do with the wax!  :)

Tuesday, June 12, 2012

More Wax Melting

I crocked the wax overnight and let it cool today. Here is the water that was left:

Click image for larger version. 

Name: 2012-06-09_16-57-33_737.JPG 
Views: 8 
Size: 86.3 KB 
ID: 4348

Here is the bottom of the wax (the water side):

Click image for larger version. 

Name: 2012-06-09_16-57-44_849.JPG 
Views: 8 
Size: 161.7 KB 
ID: 4349

And here is the side that was up (air side):

Click image for larger version. 

Name: 2012-06-09_16-58-14_706.JPG 
Views: 8 
Size: 137.6 KB 
ID: 4347

It looks like a lot of the stuff didn't separate and sink.


So I stuck a meat thermometer into the wax solution. It was 180 degrees. I think my crockpot may get too hot on low (The optimum temperature is 145 F). That may be why the wax is turning brown.  There was a lot of gunk in the bottom of the water that I poured out the last time.


I have a warming unit on the stove.  It is a low heat unit that is used to keep food warm until the meal is served or the rest of the meal is prepared. I found an old all metal coffee can (they are very hard to find anymore) in the pantry. I put some hot water in it (140F) from the faucet and put it on the warming unit. It maintained 140 ok. So I put the wax in there (plus a little extra burr comb I found) and am melting it again, to see if I can get some more of the impurities out of it.

It's taking a long time to melt (so I turned it up just a bit), but that's ok. I have time.


Click image for larger version. 

Name: 2012-06-12_12-59-53_695.jpg 
Views: 0 
Size: 93.9 KB 
ID: 4438 
Click image for larger version. 

Name: 2012-06-12_13-00-13_34.jpg 
Views: 0 
Size: 116.0 KB 
ID: 4440
Click image for larger version. 

Name: 2012-06-12_13-00-08_200.jpg 
Views: 0 
Size: 118.5 KB 
ID: 4439

Hopefully this week or weekend, I'll make a solar melter and be ready for the next time I have wax (or, I could remelt this wax again since it's just a testing session).


Friday, June 8, 2012

What To Do With Wax Cappings

When I cut the tops off of the comb to extract the honey, the caps ended up in a bucket, along with some of the honey.  There are several methods of dealing with beeswax, and some are pretty elaborate.  However, since I didn't have that much, I decided to use a crockpot and melt it down.  Supposedly, with low heat, the wax will melt and the honey will separate.  Water and wax/honey is put into the crockpot, then heated.  When the wax has melted, the crockpot is turned off and everything cools.  The wax will float, and the water honey and impurities will be in the bottom.  I have it heating up now, so we shall see.


Update of Several Items

The Cherokee Beekeeper's Association had their monthly meeting last night.  We had a pretty good crowd, considering it's summer time and vacations and stuff.  The subject was swarm prevention.  It was an interesting presentation.  It's good to hear the experienced beekeepers give their opinions and thoughts.  Some of the members attended the Field Day at Kelley's in KY last weekend.  There is a story on the CBA's blog page (link on the right).

After the extraction, I ended up with 14 quarts (and a little bit more) bottled. I didn't have enough for everyone that asked for it. Luckily, there is another beekeeper at work that sells his, too. Here's some of the finished product:


One of the funniest stories I've ever read was on the Beekeepingforms.com.  It was about a bee's nest up in a tree.  Here's the link.  It is definitely worth the time to read!


Monday, June 4, 2012

Extraction: Day Two

Just an update to the slinging. I went back and slung some more frames today (Sunday). They had drained a good deal last night, but still had some to be slung out. I ended up with 3.5 to 4 gallons of honey (plus caps and wax). I told dad to not turn on the AC in the shed this morning, so it stayed around 90 in there today, but the honey flowed very well (as did the sweat!).

It took me forever to get the frames balanced in the extractor. I just ran it really slow for a while until some of the honey came out. Towards the end, I get it up to full speed for a little while. But I noticed that some of the comb peeled off the frame. I don't know if it was weak comb, my uncapping, or centrifugal force. It strained out, but caused some wobble for a while.

But, on the good side now, I have 3 mediums of drawn comb. Now if they'll just fill them up with more honey, I'll be good to go!

Now tomorrow I'll start learning how to deal with the leftover wax.

Saturday, June 2, 2012

First Uncapping and Extraction

Well, it was a good and not-so-good day. I only had a 10-frame medium filled with honey. However it was good to see the other two mediums with all drawn comb. Well, at least I had 10 frames of honey to practice uncapping and extracting. After talking with Maxant yesterday, we sanded and ground out the inside of the motor coupling that goes on the shaft and it fits nicely now.


I tried the bee quick spray and was kind of pleased with it. I may have not left it on long enough or maybe didn't spray enough on it. I was using a towel over the boxes, so I'll probably go ahead and get me a fume board to go on top of the supers. Some of the bees left, but there were a lot that didn't leave. We ended up taking each frame out and brushing them off right before we took it into the shed. We had some empty boxes in the shed to hold the frames when we got them in. We got the frames into the shed and shut the doors, as there were bees around the door handle that had honey on it from our hands.


Then it was time for the uncapping. I have an electric knife with an adjustable temperature knob:


The knife is going to take a while to master. If you go too fast, it cools it off where it's hard to use. Plus getting it level when the comb is not level is a chore. I did a fair share of gouging the comb. I'm sure my lack of uncapping skills contributed to the unbalanced spinning of the extractor.

Here is a picture of the loaded extractor. I found that the plastic frames don't go into the holders easily. I had to wiggle and mash them down to get them to fit into the bottom holders. I think the sides of the plastic frames are maybe a little wider than wooden frames.


It wobbled and I rearranged the frames and it still wobbled. I'm sure it was my uncapping, plus I don't think that you can ever get every frame with the exact amount of honey in it. But we slung it slowly for a while and got some to come out. Here is the first drop:


So we sat there for a while and spun the frames and got some honey.


But it got late and I was tired, so I figured that the frames might drain by gravity overnight, and I'll back in the morning and spin them some more.

At this point in time, I'm ready to charge $50/pint (0.473 liter). I'm sure it will get easier and I'll become more proficient. But it sure was a learning experience.